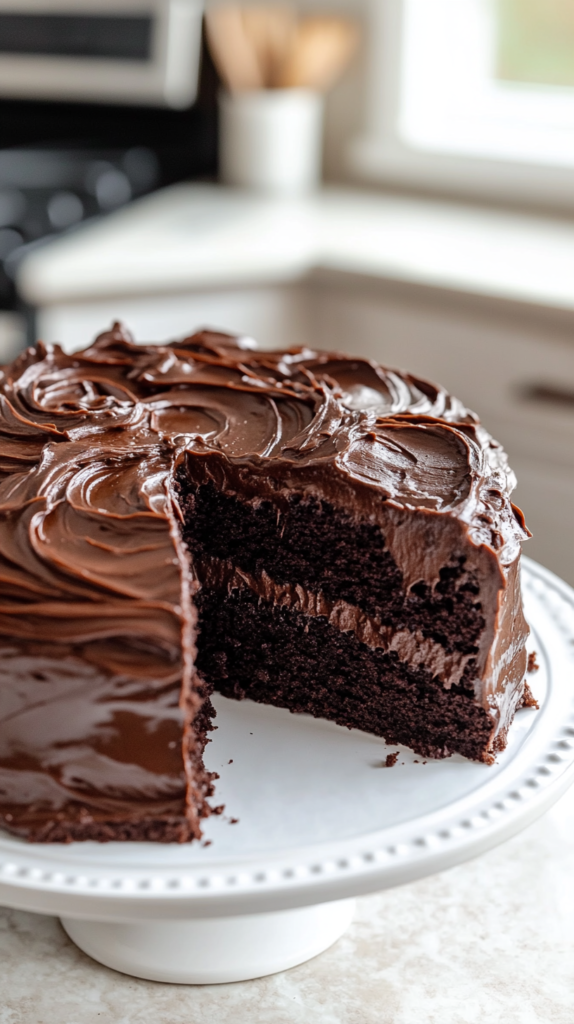
Devil’s Food Cake is hands down the most decadent chocolate cake I’ve ever tasted because this rich moist cake uses Dutch-processed cocoa and hot coffee to create the deepest darkest chocolate flavor you can imagine, all topped with silky chocolate buttercream frosting. The combination of buttermilk for tenderness, coffee to intensify the chocolate, and cocoa powder for that signature dark color creates a cake that’s seriously addictive and impossible to stop eating.
What Is Devil’s Food Cake?
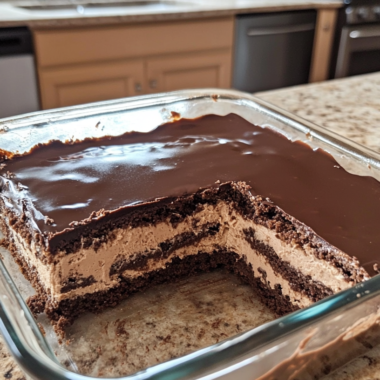
Devil’s Food Cake is a rich dark chocolate layer cake that’s darker, moister, and more intensely chocolatey than regular chocolate cake, traditionally made with Dutch-processed cocoa powder and often coffee or hot water to bring out deeper chocolate flavor. The name comes from being the opposite of Angel Food Cake, with devil representing dark and indulgent versus angel representing light and airy. This classic American cake became popular in the early 1900s and is characterized by its deep brown color, tender moist crumb, and bold chocolate taste. Think of it as the ultimate chocolate cake for serious chocolate lovers who want maximum flavor and richness in every bite.
Ingredient Breakdown
Let me walk you through everything you need for this incredible Devil’s Food Cake. Each ingredient plays an important role in creating perfection.
For the Devil’s Food Cake:
- All-purpose flour (2 cups or 250g): Provides structure for your Devil’s Food Cake. Measure by spooning and leveling for accuracy.
- Dutch-processed cocoa powder (3/4 cup or 89g): Essential for deep dark color and rich flavor. Regular cocoa won’t give same results.
- Granulated sugar (2 cups or 400g): Sweetens and creates tender crumb in your Devil’s Food Cake. Keeps cake moist.
- Baking powder (1 teaspoon): Works with baking soda for proper rise and light texture.
- Baking soda (2 teaspoons): Reacts with buttermilk and cocoa for your Devil’s Food Cake. Creates tender crumb.
- Kosher salt (1/2 teaspoon): Balances sweetness and brings out chocolate flavor beautifully in the cake.
- Brewed coffee (1 cup, strong and hot): Intensifies chocolate flavor without tasting like coffee. Essential for your Devil’s Food Cake.
- Buttermilk (1 cup, room temperature): Creates incredibly moist tender crumb. Can substitute with milk plus vinegar.
- Vegetable oil (1/2 cup): Keeps cake moist longer than butter for your Devil’s Food Cake. Neutral oil works best.
- Large eggs (2, room temperature): Binds ingredients and adds richness. Room temp mixes better into batter.
- Vanilla extract (2 teaspoons): Enhances chocolate flavor and adds depth to your Devil’s Food Cake.
For the Chocolate Buttercream Frosting:
- Unsalted butter (1 cup or 2 sticks, softened): Creates creamy base for frosting on your Devil’s Food Cake. Room temperature is essential.
- Dutch-processed cocoa powder (1/2 cup or 59g): Provides rich chocolate flavor in frosting. Same type as cake for consistency.
- Confectioners’ sugar (3 cups or 375g): Sweetens and thickens frosting to perfect spreadable consistency.
- Heavy whipping cream (1/4 cup plus more): Thins frosting to spreadable texture for your Devil’s Food Cake. Add gradually as needed.
- Vanilla extract (2 teaspoons): Enhances chocolate flavor in frosting beautifully.
- Kosher salt (1 pinch): Balances sweetness and brings out chocolate flavor in frosting.
Step-by-Step Instructions
Creating this showstopping cake is easier than you think. Let me guide you through making perfect Devil’s Food Cake every time.
Prepare the Pans
Preheat your oven to 350 degrees Fahrenheit for your Devil’s Food Cake. Make sure the oven is fully preheated before baking for even cooking and proper rising.
Grease and flour two 8-inch round cake pans thoroughly, then line the bottoms with parchment paper circles. This prevents sticking and makes removal easy after baking.
Mix the Dry Ingredients
In a large bowl, sift together the all-purpose flour, Dutch-processed cocoa powder, granulated sugar, baking powder, baking soda, and kosher salt for your Devil’s Food Cake. Sifting removes lumps and aerates ingredients.
Whisk everything together thoroughly until evenly combined with no streaks of cocoa or pockets of flour remaining. Make sure all dry ingredients are well distributed before adding wet.
Combine Wet Ingredients
In a separate medium bowl, whisk together the hot brewed coffee, room temperature buttermilk, vegetable oil, eggs, and vanilla extract for your Devil’s Food Cake. Mix until smooth and well blended with no streaks of egg visible.
The coffee should be hot but not boiling when you add it. Hot coffee helps bloom the cocoa and creates deeper chocolate flavor in the finished cake.
Make the Batter
Pour the wet ingredients into the bowl with the dry ingredients for your Devil’s Food Cake. Mix gently with a whisk or spatula just until the batter is completely smooth with no flour pockets remaining.
The batter will be very thin and pourable, almost like thick chocolate milk. This is completely normal and correct for this recipe. Don’t worry that it seems too thin compared to other cake batters.
Don’t overmix the batter or the cake will be tough. Mix just until smooth and stop immediately.
Bake the Cake Layers
Divide the batter evenly between the two prepared 8-inch pans for your Devil’s Food Cake. Pour slowly to avoid splashing and make sure each pan gets equal amounts of batter.
Bake for 30 to 35 minutes until a toothpick inserted into the center comes out with moist crumbs but no wet batter. The tops should spring back slightly when touched gently.
Don’t overbake your Devil’s Food Cake or it will be dry. Moist crumbs on the toothpick is perfect. The cakes continue cooking slightly as they cool in the pans.
Let the cakes cool in the pans for 10 minutes on wire racks. Then turn them out onto the racks, remove parchment paper, and let cool completely before frosting. This takes about 1 hour.
Make Chocolate Buttercream Frosting
In a large bowl using a hand mixer or stand mixer with paddle attachment, beat the softened butter until creamy and light for your Devil’s Food Cake frosting. This takes about 2 minutes on medium speed.
Add the Dutch-processed cocoa powder and mix until fully incorporated and smooth with no lumps of cocoa remaining. Scrape down the sides of the bowl as needed.
Gradually add the confectioners’ sugar and heavy cream, alternating between them for your Devil’s Food Cake frosting. Add a portion of sugar, then a small amount of cream, and beat until light and fluffy.
Repeat this process until all the sugar and cream are incorporated. The alternating method prevents the frosting from becoming too thick or too thin.
Mix in the vanilla extract and pinch of kosher salt. If the frosting is too thick, add more cream one tablespoon at a time until spreadable consistency for your Devil’s Food Cake.
Frost the Cake
Place one completely cooled cake layer on a serving plate or cake board for your Devil’s Food Cake. Make sure the top is level. Trim if needed for flat surface.
Spread 1/4 to 1/2 cup of frosting evenly over the top of the first layer using an offset spatula. Spread all the way to the edges for stable stacking.
Gently place the second cake layer on top, pressing down slightly to adhere to the frosting layer beneath for your Devil’s Food Cake. Make sure it’s centered and level.
Use the remaining frosting to cover the top and sides of the cake completely. Spread with an offset spatula or butter knife, smoothing as you go for beautiful finish.
Decorate with sprinkles, chocolate shavings, or any fun toppings if desired for your Devil’s Food Cake. Serve immediately or refrigerate until ready to serve.
How to Serve
This Devil’s Food Cake is perfect for birthdays, celebrations, dinner parties, potlucks, or any time you want the ultimate chocolate cake experience. Serve at room temperature for best flavor and texture. The cake slices beautifully to show off the gorgeous dark layers with chocolate frosting between and around. Pair with cold milk, hot coffee, or vanilla ice cream for an incredible combination. Store covered at room temperature for up to 3 days or refrigerate for up to a week. Let refrigerated cake come to room temperature 30 minutes before serving for softest texture. This makes 12 generous slices perfect for feeding a crowd at special occasions.
Expert Tips
- Use Dutch-processed cocoa: Regular cocoa won’t give same deep color and flavor for your Devil’s Food Cake. Dutch-processed is essential.
- Don’t skip the coffee: Coffee intensifies chocolate without tasting like coffee in finished cake. Hot water can substitute but coffee is better.
- Room temperature ingredients: Eggs and buttermilk at room temp mix better into batter for your Devil’s Food Cake.
- Don’t overmix batter: Mix just until smooth or cake becomes tough. Stop as soon as no flour visible.
- Thin batter is normal: Batter should be very thin and pourable. This creates moist tender cake.
- Use parchment paper: Lines bottom of pans for easy release of your Devil’s Food Cake. Essential step.
- Cool completely before frosting: Warm cake melts frosting. Wait full hour for cooling.
- Add cream gradually to frosting: Too much cream makes frosting too thin for your Devil’s Food Cake. Add tablespoon at a time.
- Level cake layers: Trim domed tops for flat stable stacking if needed.
- Make cupcakes instead: Fill muffin cups 2/3 full and bake 18 to 22 minutes for your Devil’s Food Cake cupcakes.
Common Questions
What’s the difference between Devil’s Food Cake and chocolate cake?
Devil’s Food Cake is darker, richer, and more intensely chocolatey than regular chocolate cake. It uses Dutch-processed cocoa for deeper color, often includes coffee to intensify chocolate flavor, and has higher cocoa content. The texture is also moister and more tender due to buttermilk and oil. Regular chocolate cake is lighter in color and flavor with less intense chocolate taste.
Can I make Devil’s Food Cake without coffee?
Yes, you can substitute hot water for the coffee in your Devil’s Food Cake. The coffee enhances chocolate flavor without making the cake taste like coffee, but hot water still works. The cake will be slightly less intense in chocolate flavor but still delicious. Some people use hot chocolate or even cola as creative substitutes.
Why did my Devil’s Food Cake turn out dry?
Dry cake usually means overbaking or measuring flour incorrectly. Check your oven temperature with an oven thermometer and remove the cake when a toothpick has moist crumbs, not when it’s completely clean. Make sure to measure flour by spooning and leveling, not scooping directly from the bag which packs in too much flour.
Can I freeze Devil’s Food Cake?
Yes! Devil’s Food Cake freezes beautifully for up to 3 months. Wrap unfrosted layers tightly in plastic wrap and aluminum foil before freezing. Thaw at room temperature, then frost before serving. You can also freeze frosted cake, but texture of frosting may change slightly. Let thaw in refrigerator overnight for best results.
Why This Is Amazing
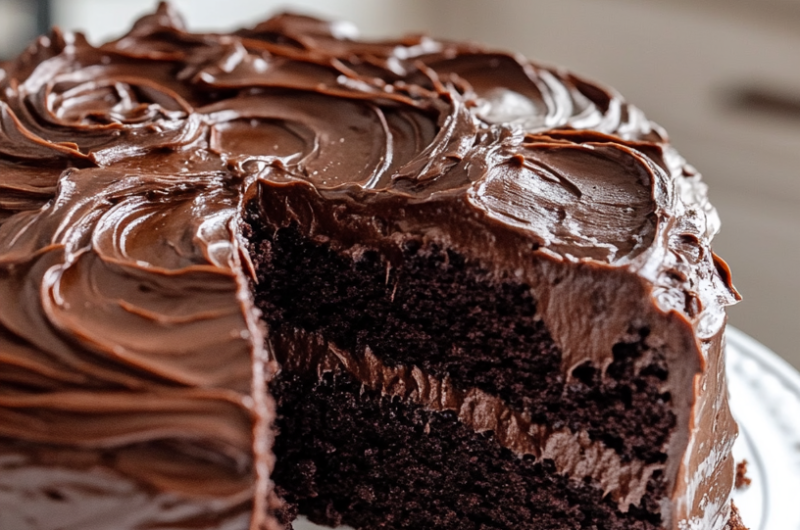
Devil’s Food Cake is absolutely the perfect chocolate cake because it delivers the deepest darkest chocolate flavor possible with incredibly moist tender crumb that melts in your mouth. The combination of Dutch-processed cocoa and coffee creates intensity that regular chocolate cakes can’t match. The rich chocolate buttercream frosting complements the cake perfectly without being too sweet. Whether you’re celebrating a birthday, hosting a dinner party, or just need the ultimate chocolate fix, this Devil’s Food Cake delivers stunning presentation and unbelievable flavor that makes it worth every single calorie and keeps chocolate lovers coming back for more slices.
More Recipes You’ll Love
If you enjoyed this Devil’s Food Cake, you’ll absolutely love these other chocolate dessert recipes from our collection. Try our Chocolate Wacky Cake for an easy no-egg chocolate cake that’s super moist, or make Chocolate Icebox Cake for a stunning no-bake layered dessert.
For more amazing chocolate cake recipes and baking inspiration, check out King Arthur Baking where you’ll find expert tips and creative ideas.
Devil’s Food Cake
Course: Desserts4
servings30
minutes40
minutes300
kcalIngredients
- For the Devil’s Food Cake:
All-purpose flour (2 cups or 250g)
Dutch-processed cocoa powder (3/4 cup or 89g)
Granulated sugar (2 cups or 400g)
Baking powder (1 teaspoon)
Baking soda (2 teaspoons)
Kosher salt (1/2 teaspoon)
Brewed coffee (1 cup, strong and hot)
Buttermilk (1 cup, room temperature)
Vegetable oil (1/2 cup)
Large eggs (2, room temperature)
Vanilla extract (2 teaspoons)
- For the Chocolate Buttercream Frosting:
Unsalted butter (1 cup or 2 sticks, softened)
Dutch-processed cocoa powder (1/2 cup or 59g)
Confectioners’ sugar (3 cups or 375g)
Heavy whipping cream (1/4 cup, plus more if needed)
Vanilla extract (2 teaspoons)
Kosher salt (1 pinch)
Directions
- Prepare the Pans
- Preheat oven to 350°F.
- Grease and flour two 8-inch round cake pans thoroughly.
- Line bottoms with parchment paper circles.
- Prevents sticking and makes removal easy.
- Mix the Dry Ingredients
- In large bowl, sift together flour, Dutch-processed cocoa powder, granulated sugar, baking powder, baking soda, and kosher salt.
- Sifting removes lumps and aerates ingredients.
- Whisk thoroughly until evenly combined.
- No streaks of cocoa or pockets of flour should remain.
- Combine Wet Ingredients
- In separate medium bowl, whisk together hot brewed coffee, room temperature buttermilk, vegetable oil, eggs, and vanilla extract.
- Mix until smooth and well blended.
- No streaks of egg should be visible.
- Coffee should be hot but not boiling.
- Hot coffee helps bloom cocoa and creates deeper flavor.
- Make the Batter
- Pour wet ingredients into bowl with dry ingredients.
- Mix gently with whisk or spatula just until batter completely smooth.
- No flour pockets should remain.
- Batter will be very thin and pourable, almost like thick chocolate milk.
- This is completely normal and correct.
- Don’t worry it seems too thin.
- Don’t overmix or cake will be tough.
- Mix just until smooth and stop.
- Bake the Cake Layers
- Divide batter evenly between two prepared 8-inch pans.
- Pour slowly to avoid splashing.
- Bake for 30-35 minutes until toothpick inserted in center comes out with moist crumbs but no wet batter.
- Tops should spring back when touched gently.
- Don’t overbake or will be dry.
- Moist crumbs on toothpick is perfect.
- Let cakes cool in pans for 10 minutes on wire racks.
- Turn out onto racks, remove parchment, and let cool completely before frosting.
- Takes about 1 hour.
- Make Chocolate Buttercream Frosting
- In large bowl using hand mixer or stand mixer with paddle attachment, beat softened butter until creamy and light.
- Takes about 2 minutes on medium speed.
- Add Dutch-processed cocoa powder and mix until fully incorporated and smooth.
- No lumps of cocoa should remain.
- Scrape down sides as needed.
- Gradually add confectioners’ sugar and heavy cream, alternating between them.
- Add portion of sugar, then small amount of cream, and beat until light and fluffy.
- Repeat until all sugar and cream incorporated.
- Alternating method prevents frosting from becoming too thick or thin.
- Mix in vanilla extract and pinch of kosher salt.
- If frosting too thick, add more cream 1 tablespoon at a time until spreadable.
- Frost the Cake
- Place one completely cooled cake layer on serving plate or cake board.
- Make sure top is level. Trim if needed for flat surface.
- Spread 1/4 to 1/2 cup frosting evenly over top of first layer.
- Use offset spatula. Spread to edges.
- Gently place second cake layer on top.
- Press down slightly to adhere.
- Make sure centered and level.
- Use remaining frosting to cover top and sides of cake completely.
- Spread with offset spatula or butter knife.
- Smooth as you go for beautiful finish.
- Optional: Decorate with sprinkles, chocolate shavings, or fun toppings.